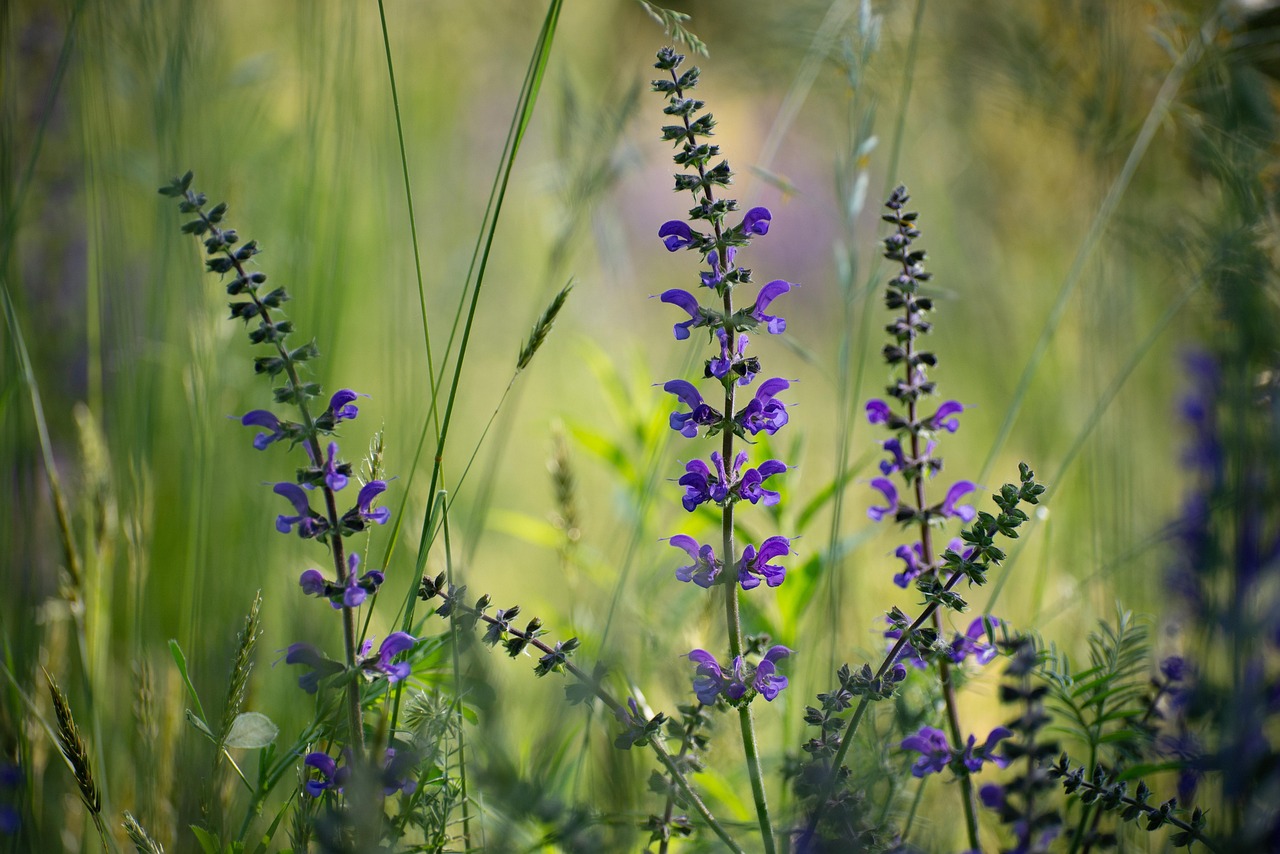
DIY Clary Sage Scalp Oil for a Refreshed, Comfortable Scalp
A well-made scalp oil can transform your weekly hair care ritual into something genuinely indulgent. This recipe centers on clary sage scalp oil as the aromatic and botanical star, blended with nourishing carrier oils chosen specifically for scalp comfort and easy absorption. If you've been curious about bringing clary sage into your personal care routine, this is a satisfying place to start.
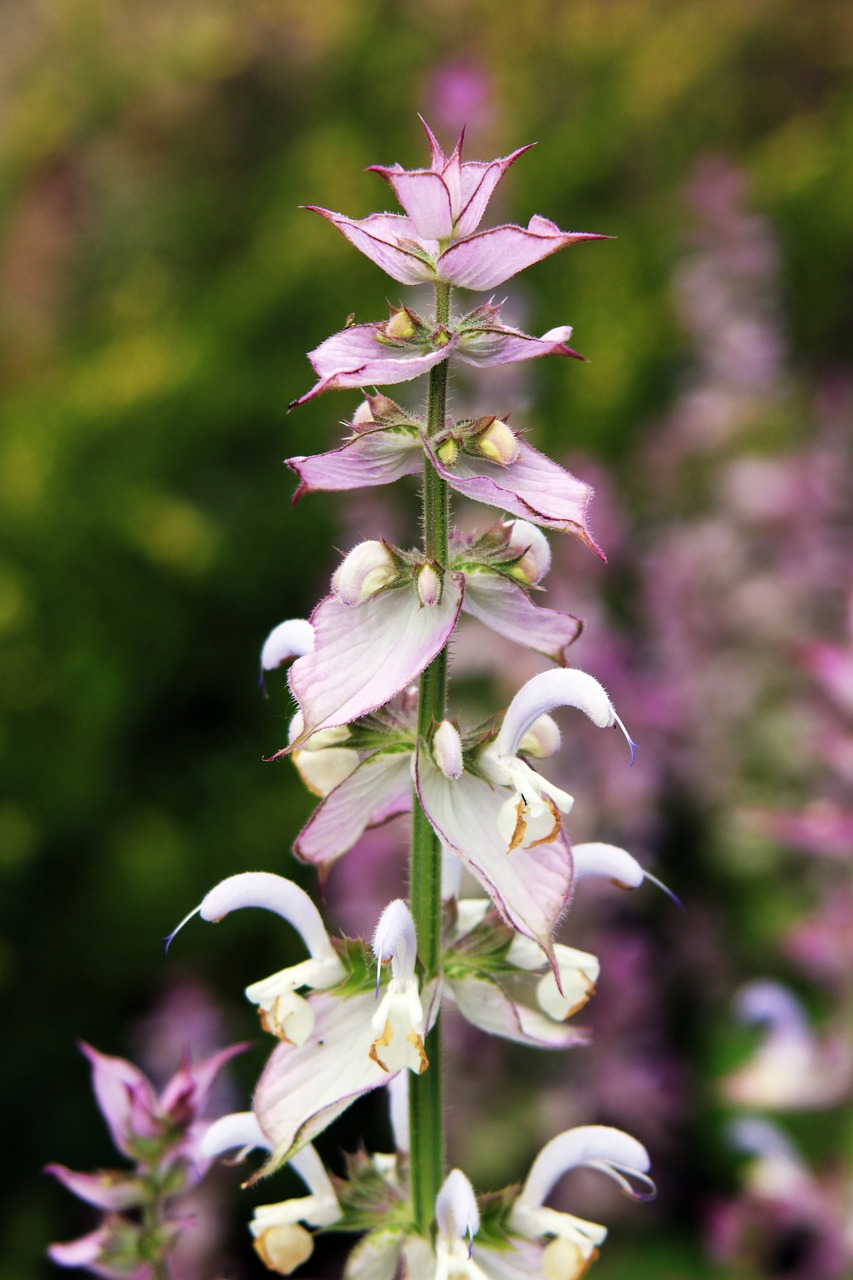
Clary sage essential oil (Salvia sclarea) has a long history in botanical beauty traditions. Its warm, slightly herbaceous, faintly floral scent makes it one of the more pleasant oils to work into a scalp and hair ritual. Beyond the aroma, its naturally occurring compounds have attracted the interest of cosmetic formulators who value it for its balancing character. For a deeper look at how clary sage fits into broader hair and skin care, visit our guide on clary sage oil for hair and skin: the complete cosmetic care.
This DIY scalp oil recipe is approachable for first-time formulators and produces a genuinely elegant finished product. You'll end up with a light, non-greasy blend that applies easily, smells wonderful, and keeps well for several months when stored correctly.
What You'll Need at a Glance
- Difficulty level: Beginner-friendly
- Prep time: 10 minutes
- Finished yield: Approximately 2 oz (60 ml)
- Shelf life: 4 to 6 months when stored correctly
Ingredients
Each ingredient below is chosen with purpose. The carrier oils do the heavy lifting in terms of scalp nourishment and slip, while the essential oils contribute fragrance and botanical character.
Carrier Oils (the base)
| Ingredient | Amount | Purpose |
|---|---|---|
| Jojoba oil | 1.5 oz (45 ml) | Lightweight, closely mimics the scalp's natural sebum; absorbs without heavy residue |
| Sweet almond oil | 0.5 oz (15 ml) | Adds slip and softness; a gentle oil well-tolerated by most skin types |
Essential Oils (active botanical layer)
| Ingredient | Amount | Notes |
|---|---|---|
| Clary sage essential oil | 12 drops | Primary botanical; herbaceous, warm, slightly floral |
| Cedarwood essential oil (Atlas or Virginian) | 6 drops | Earthy, grounding scent; popular in scalp-focused blends |
| Rosemary essential oil (ct. camphor) | 6 drops | Fresh, herbal top note; a classic in hair care formulations |
This gives you a total of 24 drops of essential oil in 60 ml of carrier oil, which works out to approximately a 2% dilution. That is a safe, standard dilution for adults using a leave-in scalp product applied two to three times per week.
Optional Add-Ins
- Vitamin E oil (tocopherol): 0.25 ml (about 5 drops). Acts as a natural antioxidant to extend shelf life. Not required, but recommended if you plan to make larger batches.
- Lavender essential oil: Swap 4 drops of cedarwood for lavender if you prefer a softer, more floral blend for evening use.
Equipment
- 1 x 2 oz (60 ml) amber or dark glass bottle with a dropper cap or a scalp applicator tip
- Small measuring cup or graduated pipette
- Dropper or pipette for essential oils
- Pen and label (for dating and identifying the blend)
- Clean workspace and freshly washed hands
Dark glass (amber or cobalt blue) is strongly preferred over clear glass or plastic. Essential oils can degrade plastic over time, and UV light shortens the shelf life of your carrier oils.
Step-by-Step Instructions
- Prepare your workspace. Wipe down your surface, wash your hands thoroughly, and gather all ingredients and equipment before you begin. Working cleanly from the start protects the integrity of your finished oil.
- Measure your carrier oils. Pour 45 ml of jojoba oil into your measuring cup, followed by 15 ml of sweet almond oil. If you're adding vitamin E, include it at this stage.
- Carefully pour the carrier blend into your bottle. Use a small funnel if needed to avoid spillage. Fill the bottle about three-quarters of the way.
- Add the essential oils. Count your drops directly into the bottle: 12 drops of clary sage, 6 drops of cedarwood, and 6 drops of rosemary. Go slowly. Essential oils are potent, and it's easy to overshoot by rushing this step.
- Cap and gently roll the bottle. Place the cap or dropper on securely, then roll the bottle between your palms for about 30 seconds. This blends the oils without introducing air bubbles the way shaking does.
- Label your bottle. Write the date, the blend name, and the dilution percentage (2%). This small step matters more than it seems, especially if you make multiple blends.
- Patch test before full use. See the safety section below before applying to your scalp.
How to Use Your Clary Sage Scalp Oil

Apply this clary sage scalp care blend to a dry or slightly damp scalp, ideally the evening before a wash day. Part your hair in sections and apply 6 to 8 drops directly to the scalp using the dropper tip. Use your fingertips to gently work the oil in with small circular movements. Leave it on for at least 30 minutes, or overnight for a more intensive pre-shampoo ritual.
Wash out with your regular shampoo. You may need two rounds of shampooing if your hair is fine or if you applied generously. Follow with conditioner on the lengths as usual.
Frequency: two to three times per week is a reasonable starting point for most people. Adjust based on how your scalp responds.
Safety Information
Please read this section fully before using your blend.
Dilution Ratios
This recipe is formulated at approximately 2% essential oil dilution, which is a widely referenced safe upper limit for leave-on adult skincare products. Do not increase the number of essential oil drops without recalculating your dilution. More is not better with essential oils, and undiluted (neat) application to the scalp is not recommended.
For reference: 30 drops of essential oil per 60 ml of carrier oil equals approximately 2.5%. Stay at or below 2% for regular leave-on scalp use.
Patch Testing (Required)
Before applying this blend to your scalp for the first time, perform a patch test. Apply a small amount (2 to 3 drops) to the inside of your elbow or behind your ear. Wait 24 hours and observe the area. If you notice redness, itching, or any unusual sensation, do not proceed with scalp application. Rinse the area thoroughly with plain water.
Contraindications and Cautions
- Pregnancy and nursing: Clary sage essential oil is generally not recommended for use during pregnancy. If you are pregnant or nursing, consult a qualified healthcare provider before using any essential oil blend.
- Children: This recipe is formulated for adults. Essential oil dilution guidelines differ significantly for children. Do not use this blend on children without guidance from a healthcare provider familiar with essential oil safety.
- Nut sensitivities: Sweet almond oil is derived from tree nuts. If you have a known tree nut sensitivity, substitute with an alternative carrier oil (see Variations below).
- Existing scalp concerns: If you have any identified scalp condition or are under the care of a dermatologist, check with your provider before introducing new topical products.
- Avoid eye contact: Keep all oils away from the eyes. If contact occurs, rinse thoroughly with cool water.
- Photosensitivity: Clary sage essential oil does not carry the same photosensitivity concerns as some citrus oils, but always allow adequate wash-out time before prolonged sun exposure.
This product is for external cosmetic use only. It is not intended to diagnose, treat, cure, or prevent any medical concern. Always consult a qualified healthcare provider if you have questions about your personal situation.
Storage Instructions and Shelf Life
Store your finished scalp oil in a cool, dark location away from direct sunlight and heat. A bathroom cabinet shelf is acceptable, but avoid storing it directly beside a heat source like a radiator or on a sunny windowsill.
Expected shelf life: 4 to 6 months. The shelf life is primarily determined by jojoba oil (which is notably stable among carrier oils) and sweet almond oil (more perishable). Adding vitamin E tocopherol can extend this slightly.
Signs your oil has turned: a noticeably sour, crayon-like, or rancid smell is the clearest indicator. When in doubt, make a fresh batch. Oil is inexpensive relative to the scalp application experience, and a fresh blend always performs better.
Variations and Substitutions
This recipe is designed to be adaptable. Here are some common swaps based on preference, availability, or sensitivity.
Carrier Oil Substitutions
- Fractionated coconut oil in place of sweet almond oil: A great option for those avoiding tree nuts. It's similarly lightweight and has an excellent shelf life.
- Argan oil as a partial replacement: Swap out up to half of the jojoba for argan if you want a richer feel and extra shine on the hair lengths when the oil migrates during application.
- Grapeseed oil: A very light, affordable alternative to sweet almond oil with a nearly neutral scent.
Essential Oil Variations
- Clary sage and lavender (relaxing evening blend): Use 12 drops clary sage, 8 drops lavender, and 4 drops sandalwood. A softer, more floral profile suited to a bedtime wind-down ritual.
- Clary sage and peppermint (invigorating morning blend): Use 12 drops clary sage, 6 drops rosemary, and 6 drops peppermint. The peppermint creates a pleasant cooling sensation on the scalp. Note: keep peppermint dilution conservative, and avoid this variation on sensitive scalps or if you have young children in the house.
- Clary sage only (minimal blend): If you prefer a simpler approach or want to observe how clary sage performs on its own, use 20 drops of clary sage essential oil in 60 ml of carrier oil for a 1.5% single-note blend.
For more on how clary sage performs in hair-focused blends, see our article on clary sage oil for hair: cosmetic care for shine and body. And if you're interested in extending clary sage into your broader skin care ritual, clary sage oil for skin: gentle botanical care covers the cosmetic considerations in detail.
A Note on Ingredient Quality
The quality of your starting materials shapes the quality of your finished blend. For clary sage essential oil specifically, look for products that clearly state the botanical name (Salvia sclarea), the country of origin (France and Bulgaria produce well-regarded crops), and the extraction method (steam distillation). GC/MS (gas chromatography/mass spectrometry) testing documentation, when available from the supplier, adds another layer of confidence about purity.
For carrier oils, cold-pressed and unrefined versions retain more of the oil's natural character. They may have a slightly stronger scent of their own, but that natural presence is a reasonable trade-off for quality. Refined carrier oils are also a valid choice if you prefer a more neutral base.
Making your own DIY scalp oil puts you in control of exactly what goes onto your scalp and hair. Starting with quality ingredients makes that control worth having. This clary sage scalp oil recipe is a small investment in a ritual that, with consistent use, can become one of the more satisfying parts of your weekly hair care routine.