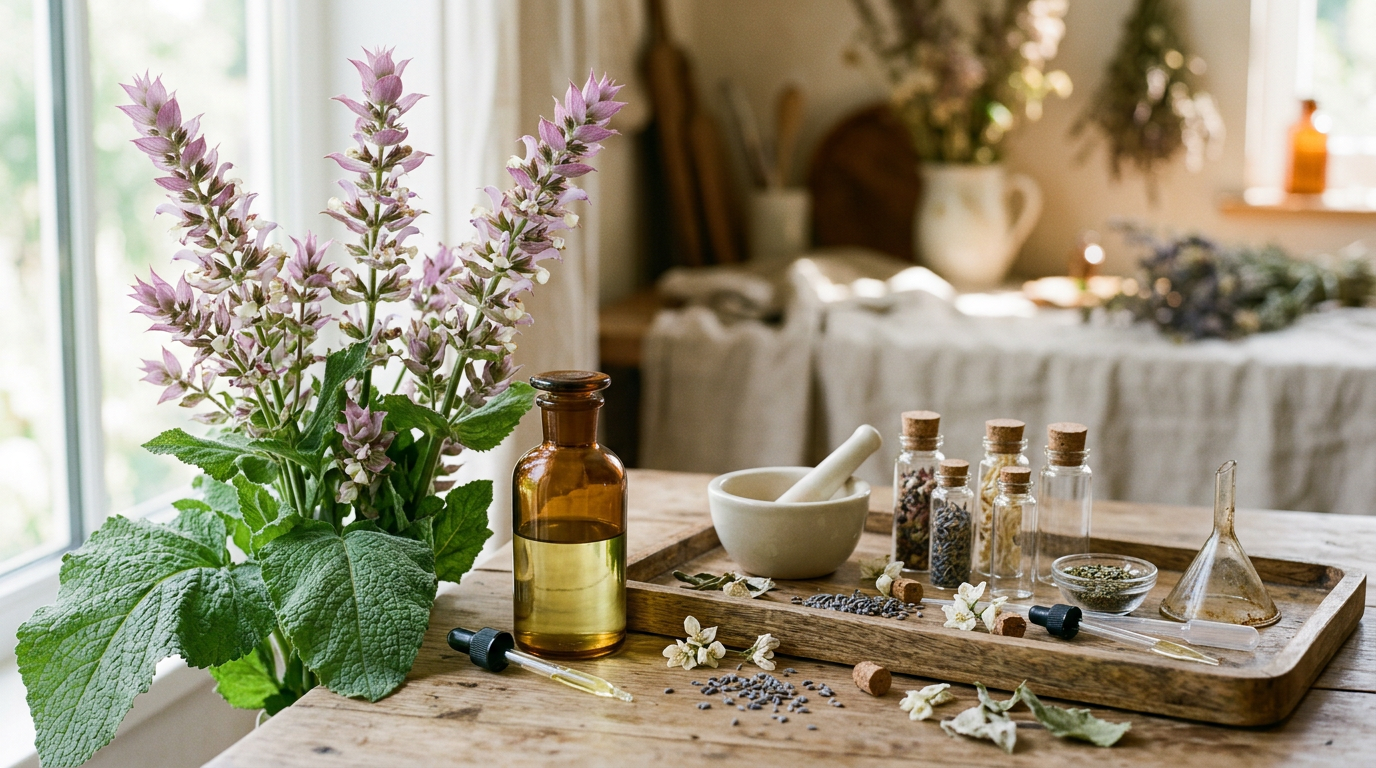
The Muscatel Hearth Blend: Our Signature Clary Sage Solid Perfume
There's a particular kind of warmth that clary sage brings to a scent blend. It's nutty, herbal, faintly sweet, the way a dried bundle of garden herbs smells when it's been sitting near a woodstove all afternoon. We built this solid perfume balm around that quality and named it for the muscatel note clary sage is known for in perfumery: something between wine grapes and warm hay, rounded out here with amber and a whisper of vanilla. The result is a pocket-sized tin of scent you can carry in a bag, keep on a nightstand, or tuck into a coat pocket for the colder months.
This is a beginner-friendly project. You don't need a perfumer's organ or a dropper collection, just a double boiler, a few basic ingredients, and about half an hour. Below you'll find the full clary sage solid perfume recipe, from ingredient list through cure time, along with the safety notes we think every DIY solid perfume balm project deserves.
Difficulty and Prep Time
- Difficulty: Beginner
- Active prep time: 20 to 25 minutes
- Cure time: 24 hours before first use, for the scent to settle and the balm to fully firm up
- Yield: Two 1 oz (30 ml) tins, or one larger 2 oz tin
Why This Blend Works
Solid perfume balms rely on a wax and oil base to hold scent close to the skin, releasing it slowly as your body warmth softens the balm. Clary sage beeswax perfume in particular benefits from this format, because the herbal, slightly boozy character of the oil comes through best in small, warm doses rather than a quick spray. We paired it with sweet orange for brightness, a touch of cedarwood for depth, and vanilla oleoresin for the "hearth" warmth that gives this blend its name. Feel free to think of this as a starting formula. Once you've made it once, you'll have a feel for how to adjust the supporting notes to build your own signature clary sage blend.
Ingredients
- 2 tablespoons (about 28 g) beeswax pellets, preferably cosmetic-grade or filtered
- 1 tablespoon (about 15 ml) jojoba oil
- 1 tablespoon (about 15 ml) sweet almond oil or fractionated coconut oil
- 1/2 teaspoon (about 2.5 ml) shea butter, softened (optional, for a creamier glide)
- 16 drops clary sage essential oil
- 6 drops sweet orange essential oil
- 4 drops cedarwood essential oil
- 2 drops vanilla oleoresin or vanilla-infused jojoba oil (skip if unavailable; the blend still works without it)
- Optional: a small pinch of dried culinary lavender or chamomile flowers, for visual texture only (strain out before pouring if using)
Tools Needed
- Small heatproof glass measuring cup or a spare glass jar
- Small saucepan, for a makeshift double boiler
- Silicone spatula or a wooden coffee stir stick
- Two 1 oz metal tins with lids, or one 2 oz tin
- Kitchen scale or measuring spoons
- Labels and a fine-point marker
Step-by-Step Instructions
- Set up your double boiler. Fill the saucepan with about an inch of water and bring it to a low simmer. Set the heatproof cup or jar inside so it sits above, not in, the water.
- Melt the wax. Add the beeswax pellets to the cup and let them melt fully, stirring occasionally. This usually takes 5 to 8 minutes over low heat.
- Add the carrier oils. Once the wax is fully liquid, stir in the jojoba oil, sweet almond oil, and shea butter if using. Keep stirring until everything is smooth and fully combined.
- Remove from heat. Take the cup off the double boiler and let it cool for about 60 to 90 seconds. The mixture should still be liquid but no longer scalding, since adding essential oils to a very hot base can cause some of the more delicate top notes to evaporate off before you even get the lid on.
- Blend in the essential oils. Add the clary sage, sweet orange, cedarwood, and vanilla oleoresin. Stir gently but thoroughly for about 20 seconds so the scent distributes evenly through the base.
- Pour into tins. Working quickly before the mixture starts to set, pour it into your tins, filling almost to the top. If you're using dried flowers for texture, sprinkle a small pinch on top now, before it firms up, so they sit just under the surface.
- Let it set. Leave the tins undisturbed, uncovered, at room temperature for 2 to 3 hours, or until fully solid. Don't move them to the fridge to speed this up, since rapid cooling can create a grainy or cracked texture.
- Cap and cure. Once solid, put the lids on and let the balm rest for a full 24 hours before first use. This gives the essential oils time to meld with the wax and oils so the scent reads as one blended note rather than separate ingredients.
- Label your tins. Write the name, date made, and full ingredient list on each label. This matters more than it sounds like it should, especially if you end up making several blends and lose track of which is which.
Safety Warnings
Please read this section before you apply anything to your skin. Essential oils are concentrated botanical extracts, and clary sage is no exception.
- Dilution ratio: This recipe uses roughly 3 percent total essential oil dilution across the full batch, which is a reasonable range for a leave-on product applied to small areas like the wrists, neck, or inner elbow. If you want a lighter scent, you can reduce the total drop count by half without changing the wax and oil measurements.
- Patch test first. Before applying the finished balm anywhere else, dab a small amount on the inside of your forearm and wait 24 to 48 hours. If you notice redness, itching, or irritation at the test site, wash the area and do not use the balm further.
- Sun exposure caution: Clary sage itself is not known to be phototoxic, but sweet orange oil, like other cold-pressed citrus oils, can increase skin sensitivity to sunlight. Apply this balm to areas that will be covered by clothing, or avoid direct sun exposure on treated skin for several hours after application.
- Pregnancy and nursing: If you are pregnant, nursing, or have any ongoing health concerns, speak with a qualified healthcare provider before using this or any essential oil blend, since some oils are not considered suitable during pregnancy.
- Children and pets: Keep this balm, and all essential oils, out of reach of children and pets. Essential oil blends formulated for adult use are not appropriate for infants or young children.
- Sensitive skin: If you have known skin sensitivities or a history of reactions to botanical ingredients, consider a lighter dilution or consult a healthcare provider before trying this recipe.
- Never apply near the eyes or mucous membranes, and avoid ingesting the balm or any of its ingredients.
This information is educational and general in nature. It is not a substitute for individualized advice from a qualified healthcare provider, and it should not be used as the basis for decisions about any health concern.
Storage and Shelf Life
Store your tins somewhere cool, dry, and out of direct sunlight. A bathroom cabinet or a bedside drawer both work well; a steamy shower shelf does not, since heat and humidity shorten shelf life and can cause the balm to soften or sweat. Kept properly, this solid perfume should hold its scent and texture for 6 to 12 months. You'll usually notice the change before the balm becomes unusable: the scent fades first, going flatter and less distinct, well before the wax and oil base itself turns. If a tin ever develops an off smell that wasn't there originally, or visible mold, discard it.
Variations and Substitutions
- Vegan version: Swap the beeswax for candelilla wax, using about two-thirds the amount by volume since candelilla is firmer. Start with 1 tablespoon plus 1 teaspoon and adjust from there.
- Warmer, deeper profile: Replace the cedarwood with a couple drops of patchouli for a more grounded, earthy base note that leans into the "hearth" side of the blend.
- Brighter, lighter profile: Increase the sweet orange to 8 drops and drop the vanilla oleoresin, for a version that reads more citrus-forward and less cozy.
- Floral twist: A couple drops of geranium alongside the clary sage brings out a soft, rosy undertone that pairs nicely if you plan to wear this blend in warmer months.
- Nut allergy substitution: If sweet almond oil is a concern, sunflower oil or fractionated coconut oil both work as a straightforward one-to-one swap.
- No shea butter on hand: The recipe works fine without it. You'll get a slightly firmer, less creamy balm, which some people actually prefer for a more traditional solid perfume feel.
A Few Notes From Our Kitchen
The first batch we made of this blend came out a little too firm, more like a candle than a balm, because we let the wax cool too long before pouring. If that happens to you, don't toss it. Just remelt the tin gently over the double boiler, stir in another half teaspoon of jojoba oil, and pour again. Solid perfume is forgiving that way.
We also found that the scent on day one is not the scent you'll get on day three. Clary sage in particular seems to round out and soften as it cures, losing some of its sharper herbal top note and settling into that warm, muscatel character we were after. If your first sniff out of the mold seems a little strong or grassy, give it the full 24 hours before judging the final blend.
Whatever variation you land on, keep good notes on your ratios. A signature clary sage blend is really just a formula you've dialed in through a few rounds of small adjustments, and it's much easier to repeat a favorite batch when you know exactly what went into it.