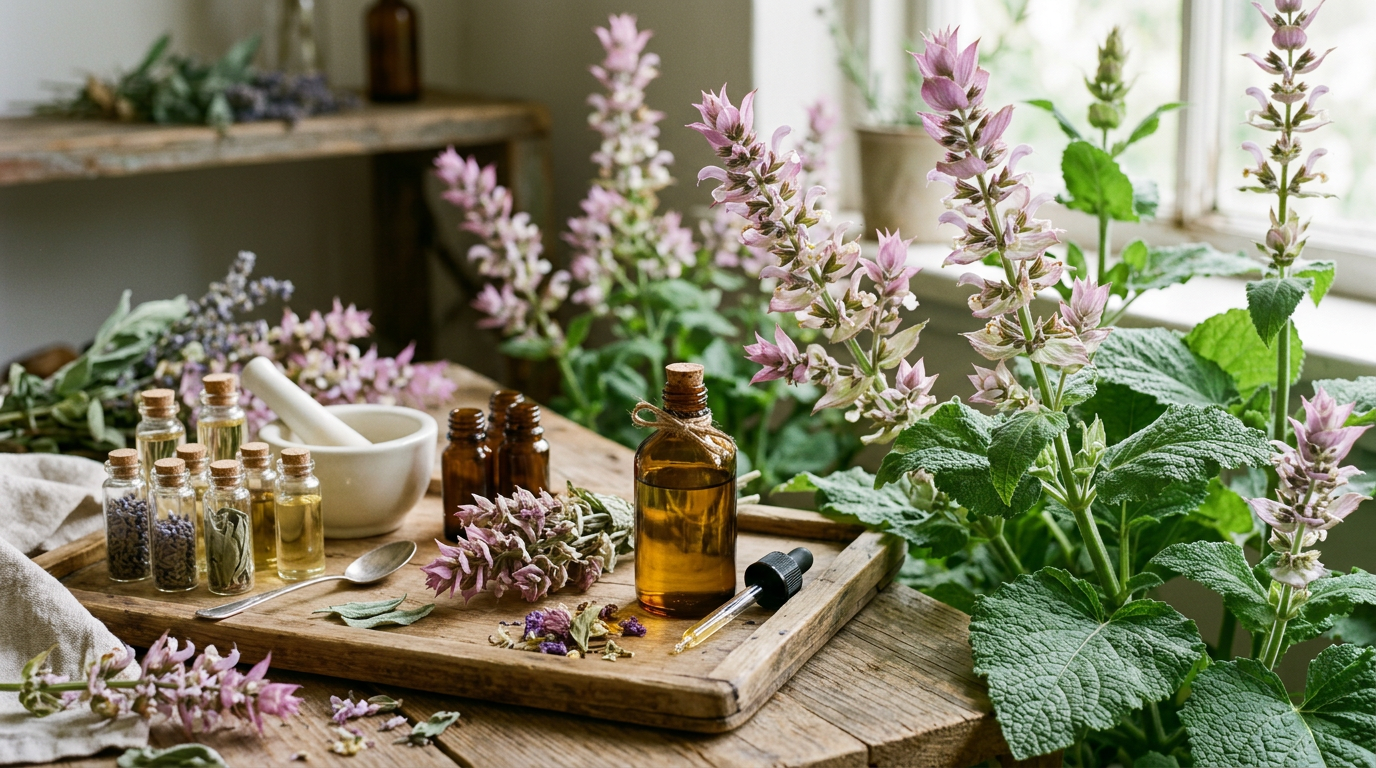
How to Anchor a Perfume Blend With a Clary Sage Base Note
Every home perfumer eventually runs into the same problem: a blend that smells gorgeous in the bottle and vanishes twenty minutes after it hits skin. Usually the culprit isn't the pretty top notes getting all the blame. It's a missing foundation. Clary sage is one of the more underrated fixative-adjacent materials in a natural perfumer's kit, and once you understand how to use clary sage as a base note, you can stop losing your best blends to thin air.
This guide walks through a full clary sage perfume technique from raw materials to a finished, wearable blend, with the reasoning behind each step so you can adapt it to your own materials on hand.
Why Clary Sage Works Well in the Base
In classic perfume structure, a fragrance is built in three layers: top notes that greet you first and fade within minutes, heart notes that carry the main character of the blend for an hour or two, and base notes that linger longest and give the whole composition weight. Clary sage sits in an interesting middle-to-base position. Its scent profile leans herbaceous, faintly sweet, and a little tea-like, with a dry, ambery undertone that becomes more noticeable as the lighter top notes burn off.
That dry, slow-evaporating quality is what makes it useful as a semi-fixative. It doesn't have the thick, syrupy tenacity of something like sandalwood or benzoin, but it slows the departure of brighter materials sitting above it and gives a blend a rounder, less sharp finish. Building a perfume with clary sage in the base layer often means the difference between a scent that reads as one-dimensional and one that has a clear beginning, middle, and end.
Materials You'll Need
- Clary sage essential oil (a reputable, GC/MS-tested source, ideally with a batch-specific certificate of analysis)
- 2 to 3 top note oils (citrus options such as bergamot, sweet orange, or grapefruit work well against clary sage's dry sweetness)
- 2 to 3 heart note oils (geranium, lavender, ylang ylang, or rose are common pairings)
- 1 to 2 additional base note oils to round out the fixative layer (sandalwood, patchouli, vetiver, or benzoin)
- A carrier oil such as fractionated coconut oil or jojoba, or perfumer's alcohol if you're building a spray
- Glass mixing vials (5ml or 10ml) with orifice reducers or dropper caps
- Glass or metal stirring rods (avoid plastic, which some oils can degrade over time)
- A notebook or spreadsheet for recording drop ratios
- Small blotter strips (perfumer's paper, or coffee filter strips cut thin work in a pinch)
- Dark glass storage bottles for the finished blend
Step-by-Step: Building a Perfume With a Clary Sage Base
Step 1: Smell Your Clary Sage Alone First
Before it goes near anything else, put a single drop on a blotter strip and let it sit for a full five minutes. Clary sage changes character as it opens up: the first impression is often green and slightly boozy, then it settles into something drier and warmer. Note what you smell at the one-minute mark and again at the fifteen-minute mark. This baseline matters, because you're about to layer other materials on top of it and you need to know what you're working with when it's alone.
Step 2: Choose Your Supporting Base Notes
Clary sage rarely wants to anchor a blend by itself. It pairs particularly well with sandalwood, which smooths out its herbal edge, or with a small amount of vetiver, which deepens it without overpowering. Pick one or two partners rather than four or five. A crowded base layer tends to muddy the whole composition instead of supporting it.
Step 3: Build the Base Layer First, in Isolation
Working in a fresh mixing vial, combine your clary sage with the supporting base note(s) at roughly a 2:1 ratio (two parts clary sage to one part sandalwood or vetiver, adjusted to taste). Cap it, roll it gently between your palms to mix, and let it sit for at least ten minutes before smelling. This is the clary sage fixative technique in its simplest form: you're establishing the foundation before anything else joins it, so you can judge it on its own merits.
Step 4: Add the Heart Notes in Small Increments
Using a clean dropper, add your heart note oils one drop at a time, smelling a fresh blotter after each addition. Geranium or lavender tend to sit comfortably over a clary sage base without fighting it. Write down every drop you add. If you skip this step, you won't be able to recreate the blend later, and you'll have no way to scale it up once you find a ratio you like.
Step 5: Layer in the Top Notes Last
Top notes are added last because they're the most volatile and the easiest to overdo. A common starting ratio for a balanced perfume pyramid is roughly 30 percent top notes, 50 percent heart notes, and 20 percent base notes, though there's plenty of room to shift that toward a heavier base if you want a blend that reads warmer and lasts longer on skin. Add your citrus or other top notes a drop at a time, checking the blend on a blotter after each one.
Step 6: Dilute Before Testing on Skin
Undiluted essential oil blends should never go directly on skin. Dilute your finished blend in carrier oil at no more than 2 to 3 percent for a general body application (roughly 12 to 18 drops of total essential oil per ounce of carrier), or lower for facial use. If you're building an alcohol-based spray, a 10 to 20 percent dilution in perfumer's alcohol is typical for finished perfumes, but keep a lower concentration for your first few test batches while you're still adjusting the recipe.
Step 7: Patch Test Before Wearing It Anywhere
Apply a small amount of the diluted blend to the inside of your forearm and leave it uncovered for 24 to 48 hours before applying it more broadly. This step matters even for oils you've used before, since a new combination can behave differently on skin than any single ingredient does alone. If you notice redness, itching, or irritation at any point, wash the area and discontinue use.
Step 8: Let the Blend Mature
Once you're happy with the drop ratios, transfer the full blend into a dark glass bottle and let it rest, capped, in a cool, dark cupboard for one to two weeks. This maturation period allows the individual materials to round out and marry together, which is where clary sage's fixative quality really shows itself. A blend tested fresh often smells noticeably different, usually smoother and more integrated, after it's had time to settle.
Step 9: Re-Test and Adjust
After the resting period, apply a small diluted amount and check the blend at the one-hour, three-hour, and six-hour marks if possible. This is your real test of how well the clary sage base is anchoring the composition. If the top notes are gone within twenty minutes and nothing is left behind, the base layer may need a slightly higher concentration next time.
Tips for a Stronger Result
- Work in a well-ventilated room and give your nose breaks. After 15 to 20 minutes of continuous smelling, scent fatigue sets in and everything starts to smell the same.
- Smell coffee beans or your own forearm skin between test blends to reset your sense of smell.
- Keep every formula written down, including the batch or supplier of each oil, since natural materials vary from harvest to harvest.
- Start small. A 2ml or 5ml test batch costs far less to get wrong than a full 30ml bottle.
- Temperature and humidity in your storage space can shift how a blend ages, so keep finished perfumes somewhere consistently cool.
Common Mistakes to Avoid
- Adding the base note last. Building the base first and layering upward gives you a much clearer sense of how the fixative is behaving before other materials complicate the picture.
- Overusing clary sage. A little goes further than expected. Too much can push a blend toward a heavy, almost muscatel-like sweetness that overwhelms lighter top notes.
- Skipping the rest period. Testing a blend the same day it's mixed rarely gives an accurate picture of the final scent.
- Testing on paper only. Blotters are useful for isolating a single material, but skin chemistry changes how a finished blend reads, so always confirm on a diluted skin patch before finalizing a recipe.
- Ignoring dilution guidelines. Higher concentrations don't necessarily mean better longevity, and undiluted application increases the chance of skin irritation.
What to Expect
With a properly built base layer, many home perfumers report that their blends feel more cohesive and hold their shape on skin longer than blends built without a fixative-style anchor. Clary sage's dry, rounded character tends to sit quietly under brighter top and heart notes rather than announcing itself, so if you're doing this correctly, most people who compliment your scent won't be able to pick out clary sage specifically. That's generally the sign of a well-integrated base note doing its job.
Results vary depending on the other oils in your formula, your skin's natural chemistry, and storage conditions, so treat these steps as a starting framework rather than a fixed formula. Keep notes, adjust ratios in small increments, and expect your first few attempts to be a learning process rather than a finished product.
A Note on Safety
Essential oils are potent botanical extracts and should always be diluted before skin contact. Perform a patch test before wearing any new blend, and stop use if you notice any skin reaction. If you are pregnant, nursing, or have any ongoing health concerns, check with a qualified healthcare provider before incorporating new essential oils into your routine. Keep all essential oils out of reach of children and pets, and store finished blends in dark glass away from heat and direct sunlight.
Building a perfume with clary sage as your base takes some patience, but the payoff is a blend with real staying power. Once you've worked through the ratios a few times, the technique becomes second nature, and you'll start reaching for clary sage any time you need a composition that holds together from first spritz to last trace.